
What you'll need:
- Photoshop
- Watercolor drawings
- The outline of a map (World Map, United States, Continents...)
How to do it:
1. Find the outline of a map. I chose to do the world map.

2. Find your watercolor drawings:
Example:


3. In Photoshop, open two tabs, one with the map and one with the watercolor drawing. Make sure the map is in RGB Color Mode by clicking "Image", "Mode" and "RGB Color". This will make the watercolor picture come out in colors when it is paste onto the map.
4. On your watercolor picture, at the top choose "Select" then click "All". Go to "Edit" and click "Copy".


5. Go back to the map and use your magnetic lasso tool. To do so, press and hold the lasso tool and select the magnetic one.


6. With the magnetic lasso tool, go around a part of the map and close it off. Then go to "Edit" and click "Paste Special" and "Paste Into".
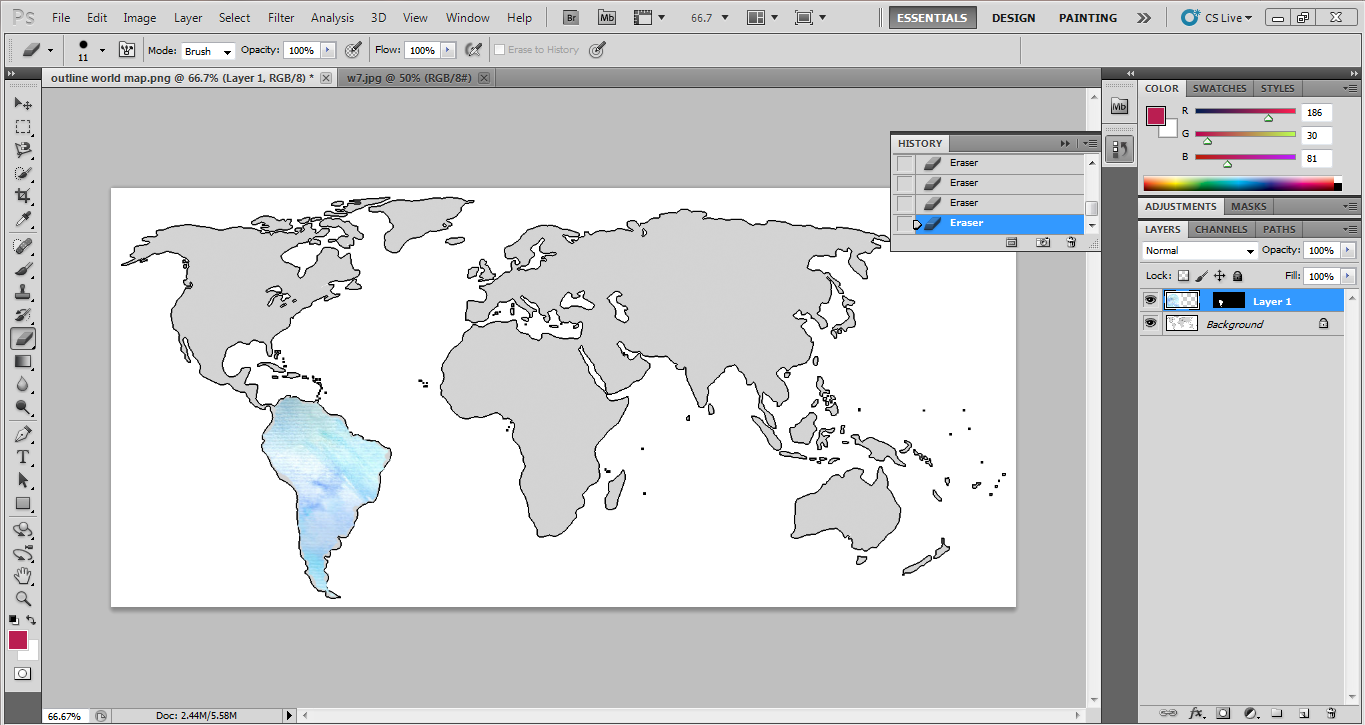
7. Do it bit by bit until the whole map is finished.
And this is what it looked like at the end:

I did the same thing with the States:

I hope you like it!
Enjoy!

No comments:
Post a Comment